Smart Upload
Smart Upload
Smart upload is a specialized importer that ingests reports from infrastructure scanning tools. The intelligence in this import vehicle comes from the ability to match incoming findings with existing products based on the hosts of endpoints discovered during the scan. Findings that are not matched with an existing product will be converted to an “Unassigned Finding” object that is separate from other findings and placed in a product placement queue. This separation is vital for ensuring that these unassigned findings do not have an impact on metrics and reports.
Using Smart Upload
UI Form
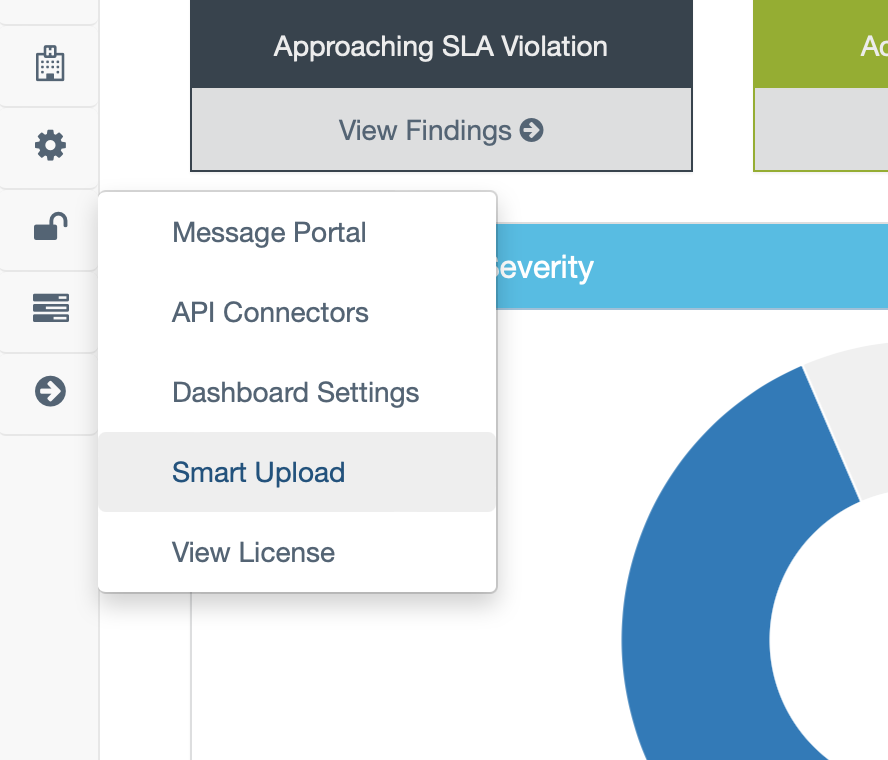
Begin by navigating to the Smart Upload page under the plugins tab within the sidebar.
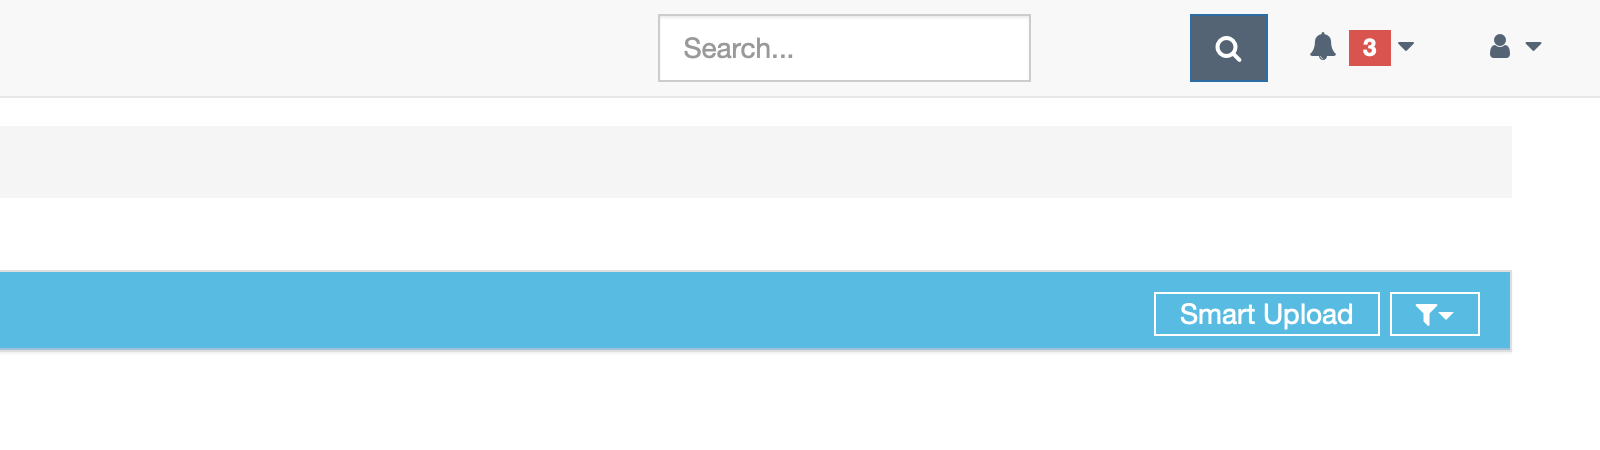
To begin uploading, select Smart Upload in the top right.
This will prompt the user to fill out information pertaining to the scan file(s) being uploaded, similar to the way importing is completed in other parts of DefectDojo.
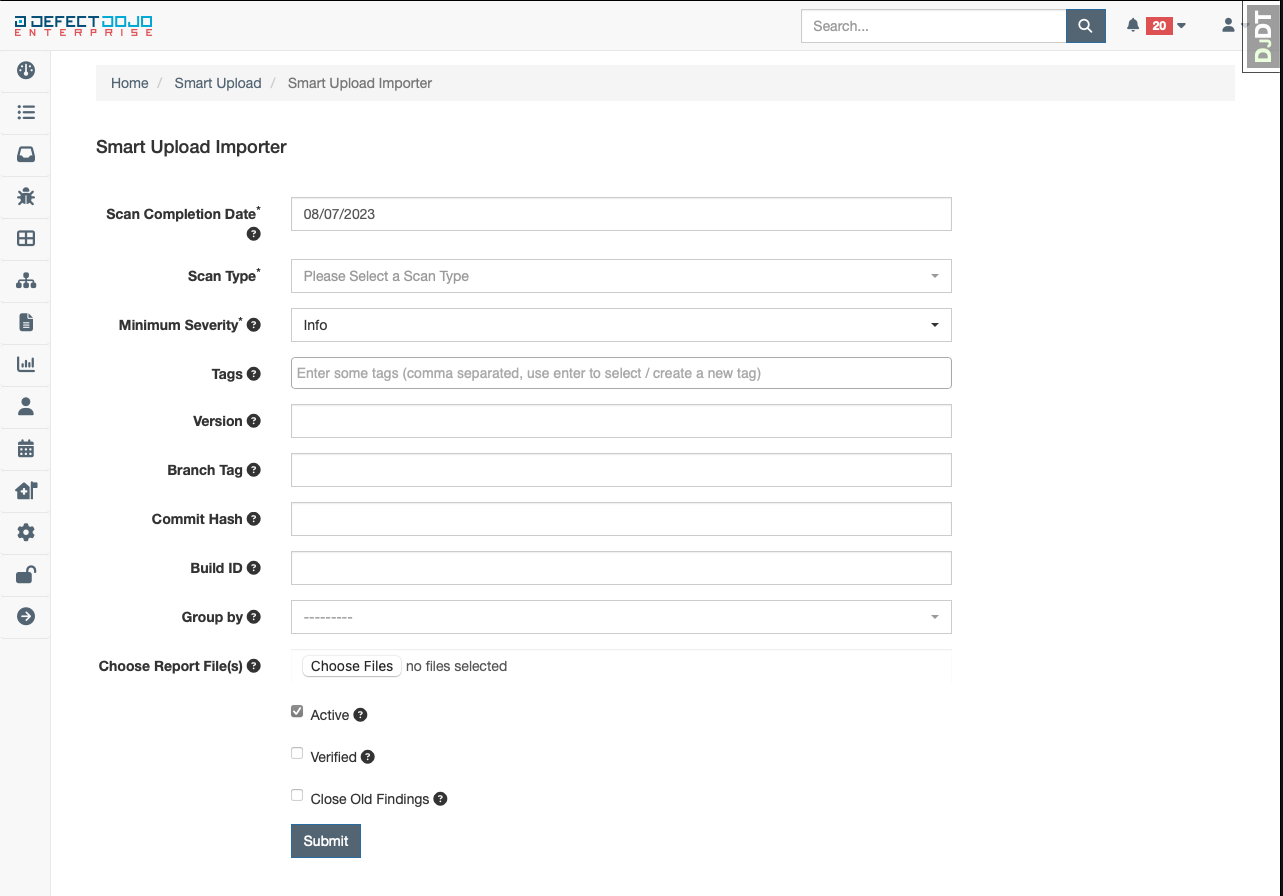
Once all data in the form is completed, submit the form.
API Endpoint
The smart upload API endpoint is very similar to other import endpoints available in DefectDojo. The difference here is that only a few fields are required:
curl -X 'POST' \
  'https://dojo-host/api/v2/smart_upload_import/' \
  -H 'accept: application/json' \
  -H 'Content-Type: multipart/form-data' \
  -H 'Authorization: Token XXX' \
  -F 'files=@n/path/to/file;type=text/csv' \
  -F 'scan_type=Tenable Scan'
How are findings matched?
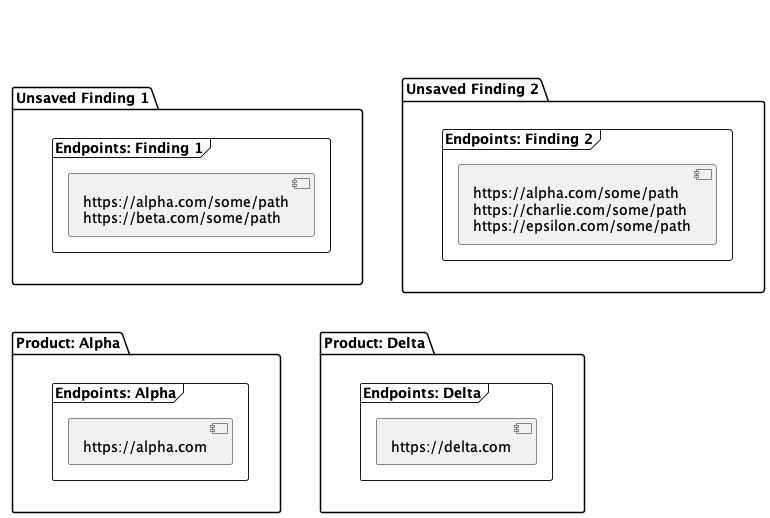
Findings are matched with existing products based on the host or IP of the endpoint the finding was discovered at. Take the following example of an existing product list:
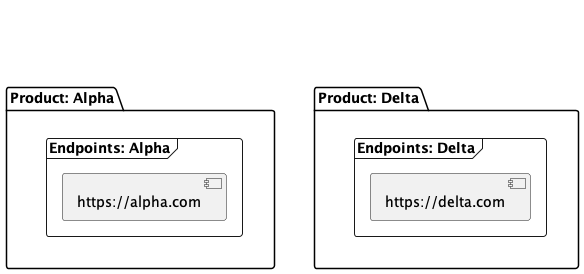
After importing a scan report with a couple findings, the system will be as follows before progressing to the product matching algorithm
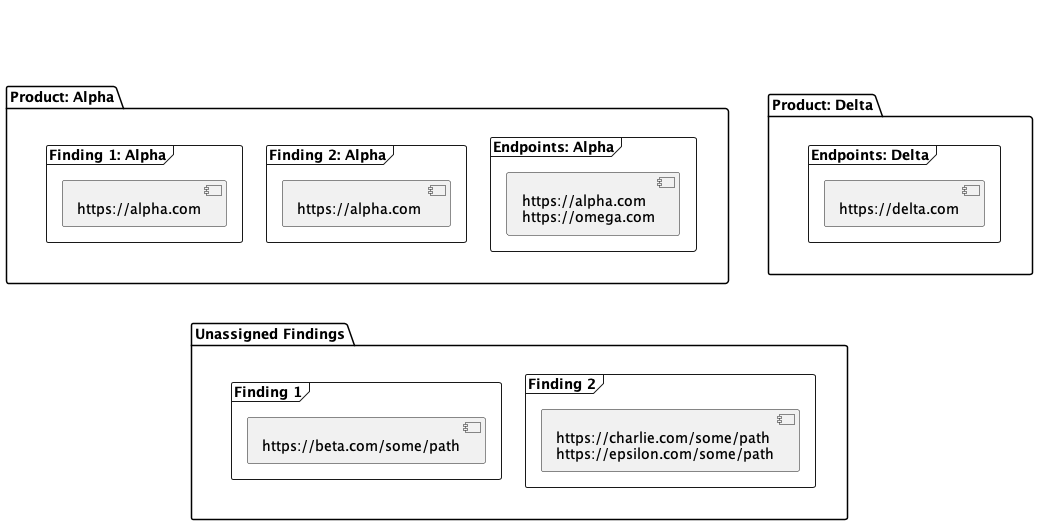
Once the product matching is run, the state of the system will be as follows:
What happens when a matching product is not found?
If a finding’s endpoints do not match any existing endpoints within the system, then the finding will be split into N findings, where N is the number of unique hosts where this finding was discovered:
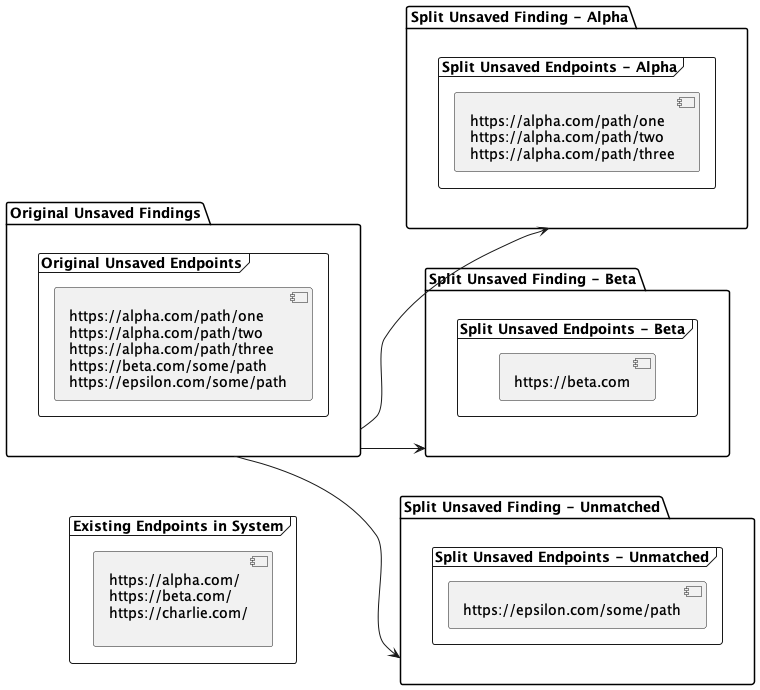
What happens if multiple matches are found?
Matching findings from multiple endpoints to products is the primary purpose of smart upload! In the diagram above, a finding with multiple hosts/IPs will be split into identical findings and assigned to their respective products. If there are any endpoint hosts without a matching product, then they will also be split into separate findings by host.
How is the data organized in a given product?
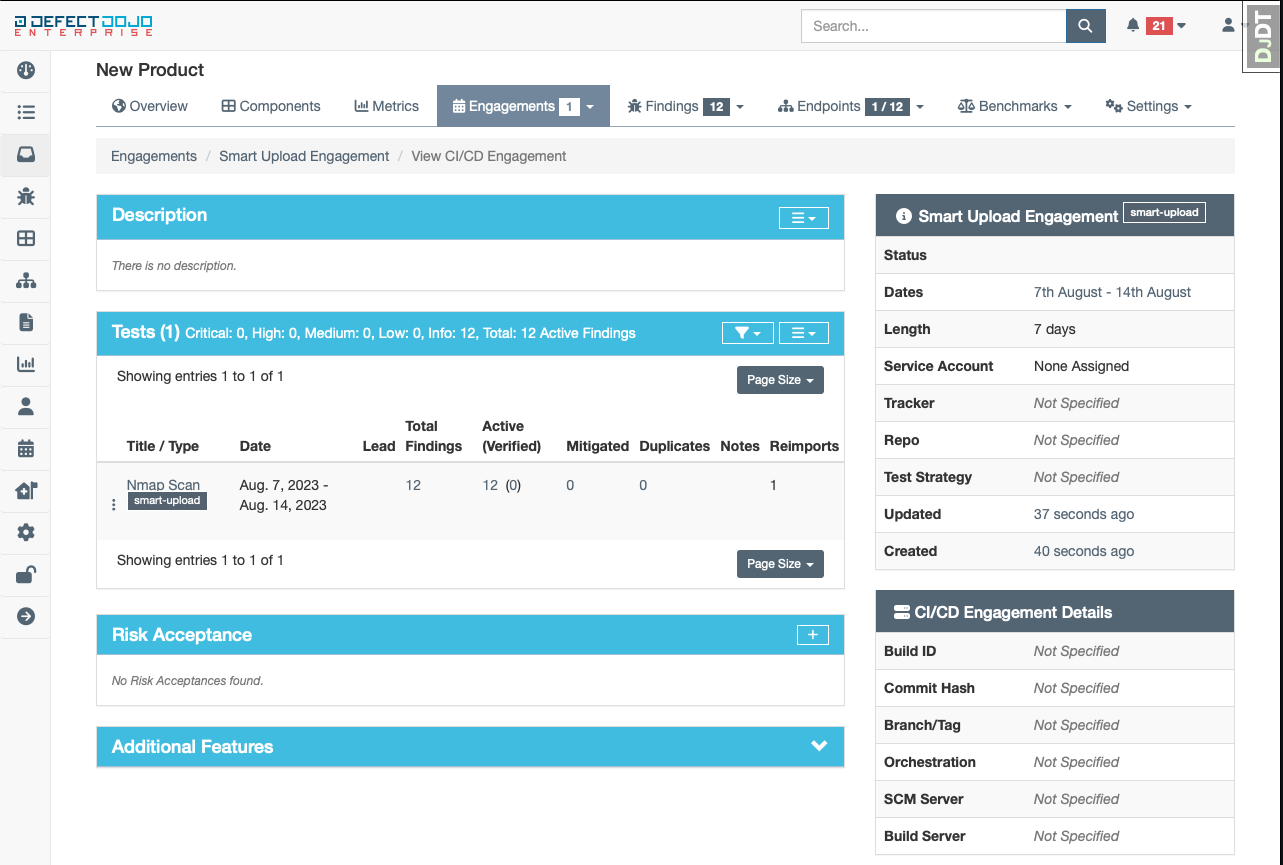
Engagements and Tests created under a product are intended to be CI/CD focused. In most cases, the engagement will be reused. However, supplying updated arguments to the importer such as version, build ID, commit hash, or branch tag will be used to filter for a specific engagement based on those values.
Product Placement
Findings parsed from a given report that are not matched to an existing product will be placed in a “product placement” queue where each finding can be assessed by its title, severity, endpoints where the vulnerability was detected, and what file the finding came from.
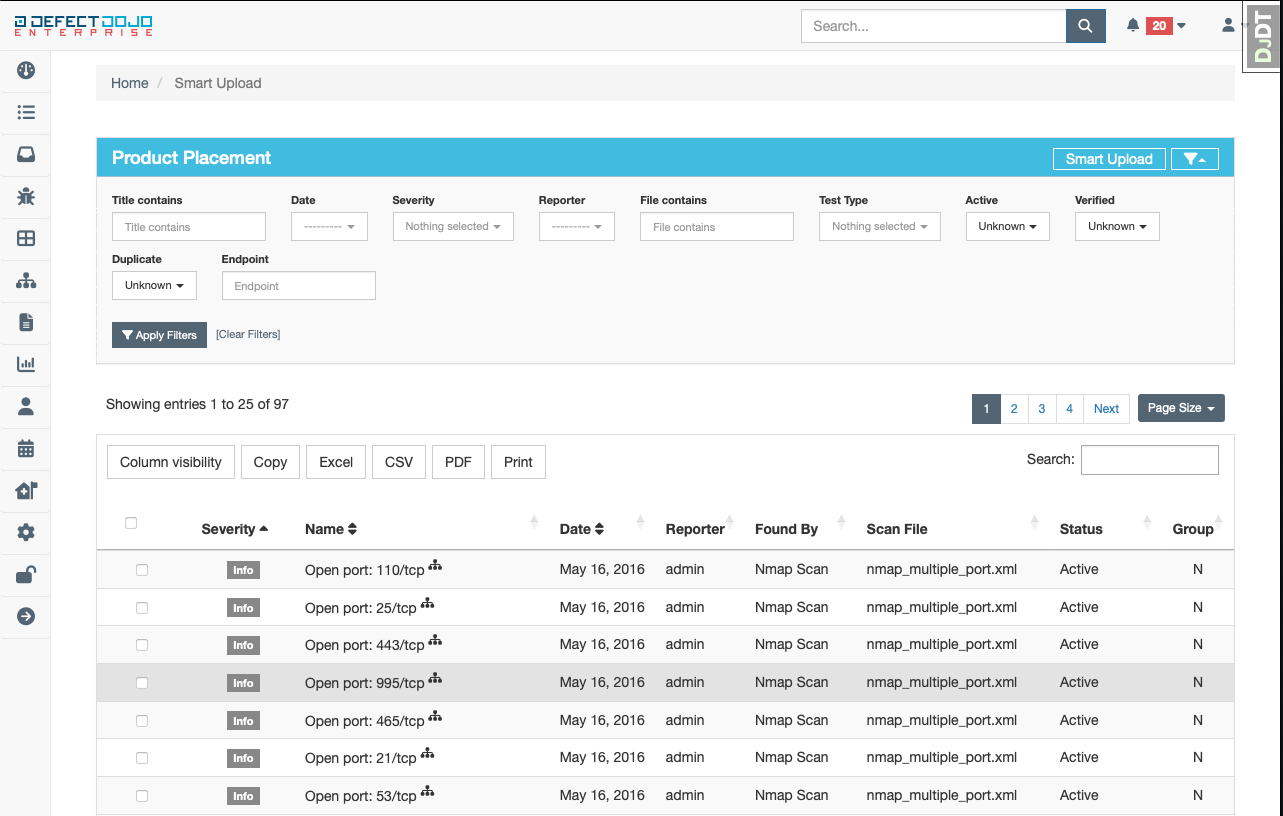
After selecting at least one finding, three options will be displayed:
- Create Product - create a new product for the finding to be assigned to
- Assign Product - list all existing products that the finding may be assigned to
- Discarded Findings - delete the unassigned finding altogether
Create Product
Sometimes, a finding is detected on an endpoint that may not fully align with any existing products, or it may not even fit the product model directly. In these cases, it is most appropriate to create a new product for these findings to avoid having them getting misplaced in the future. After clicking the “Create Product” button, a short form will appear to gather some required information about the product:
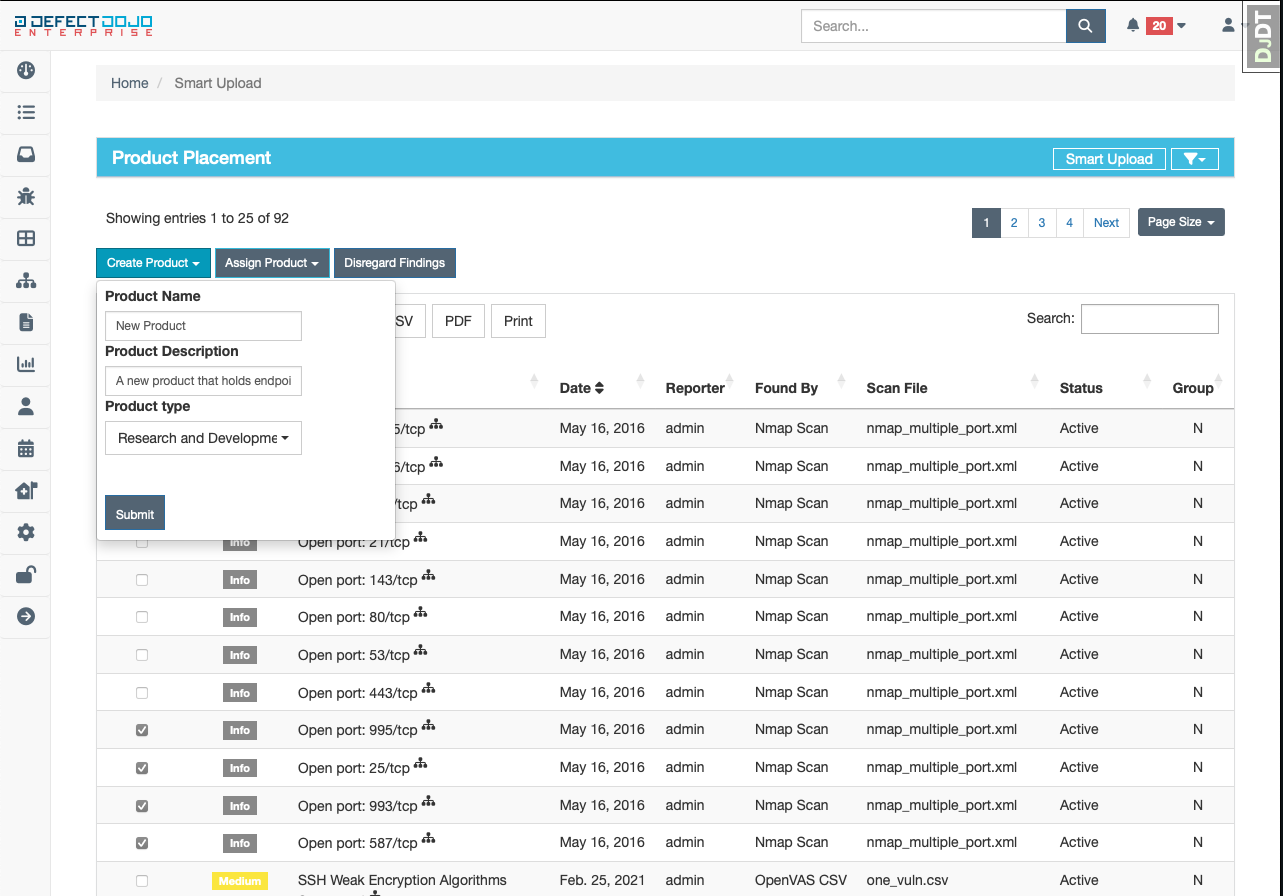
More information can be added to this newly created product from the “Edit Product” page
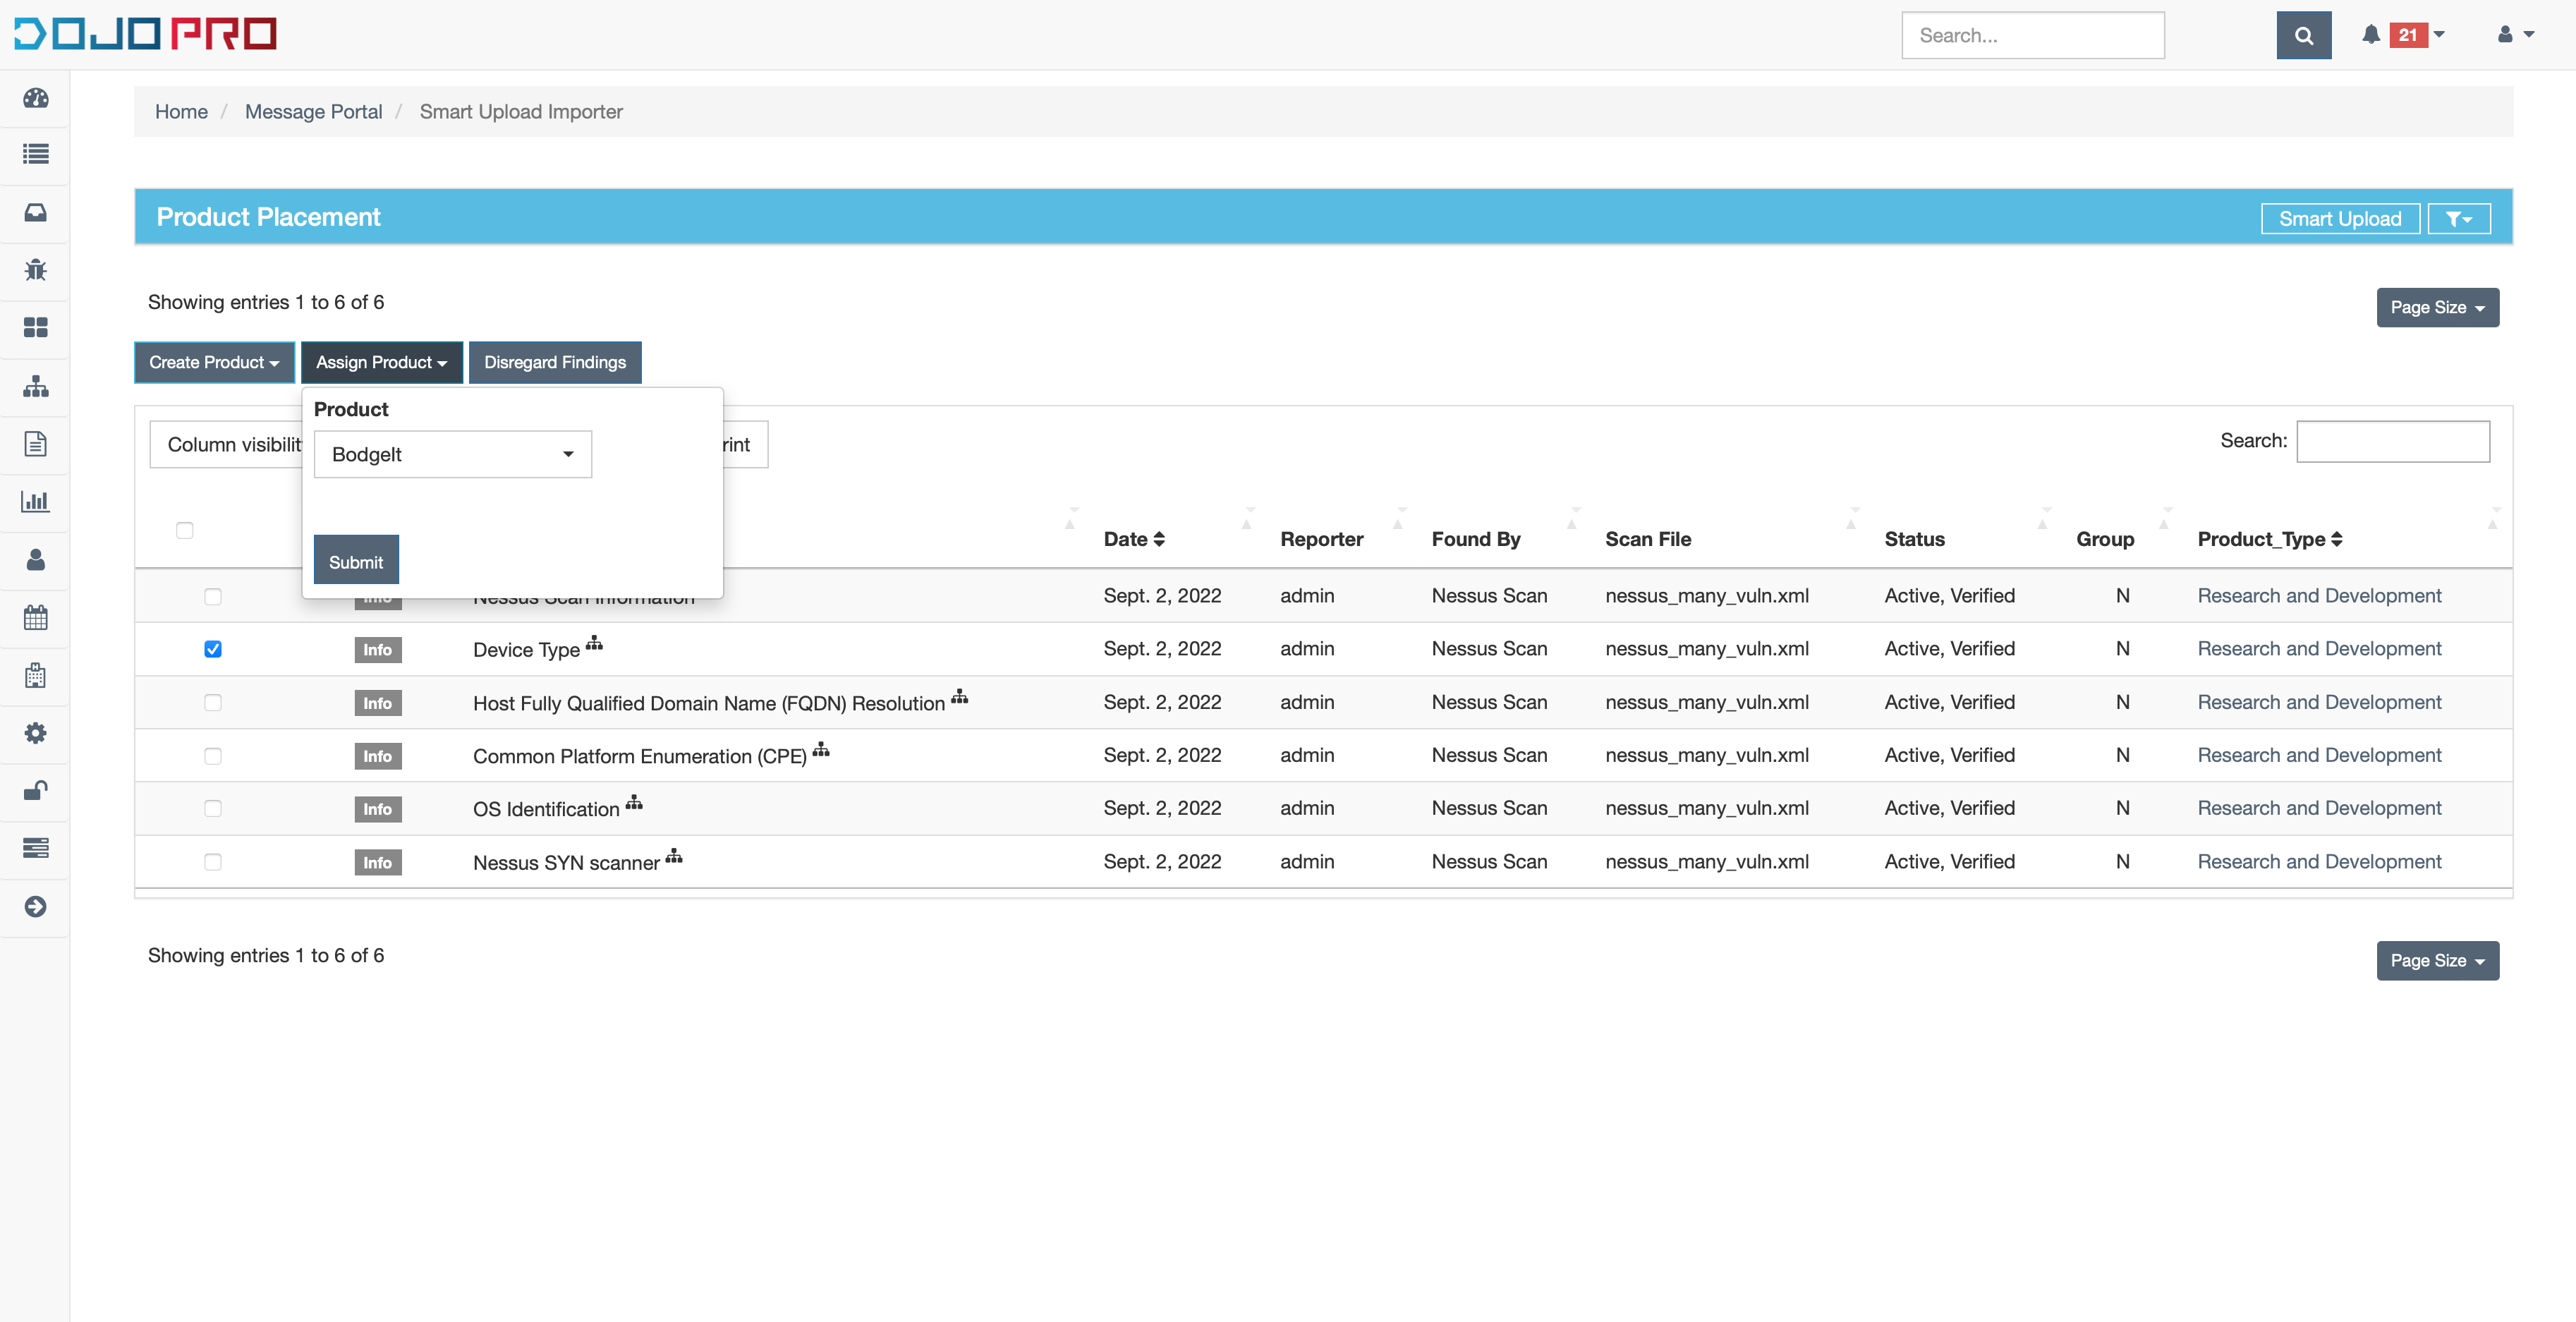
Assign Product
In most cases with infrastructure scans, the endpoints where findings are discovered are dynamic. When the location of a finding changes, it is necessary to create a link from this new location to an existing product so that a match can be found in the next import. After clicking the “Assign Product” button, a short form will appear to select the product this finding should be assigned to:
Discarded Findings
When a finding is deemed to be not worth keeping, then it can be discarded from the product placement queue altogether by clicking the “Discard Findings” button
Supported Tools
- Nexpose
- NMap
- OpenVas
- Qualys
- Tenable