Custom Settings
Custom Settings
Custom Settings adds additional settings to your DefectDojo instance, including fine tuning deduplication, SAML settings, SSO configuration and SMTP server configuration.
Note: SMTP server configuration is only available for on-premise customers.
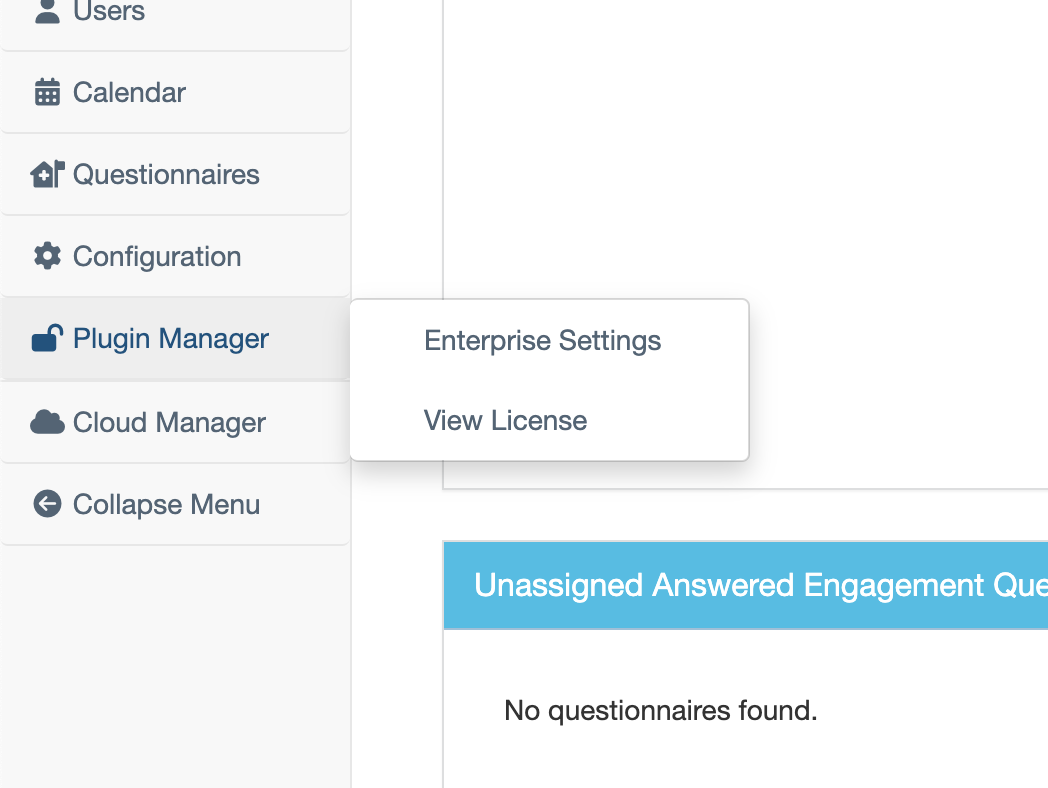
To access these additional settings, navigate to the appropriate Settings page under the Plugin Manager tab within the sidebar. Please note, the name of this tab will depend on your DefectDojo level (e.g. Plus, Pro, or Enterprise).
Deduplication Settings
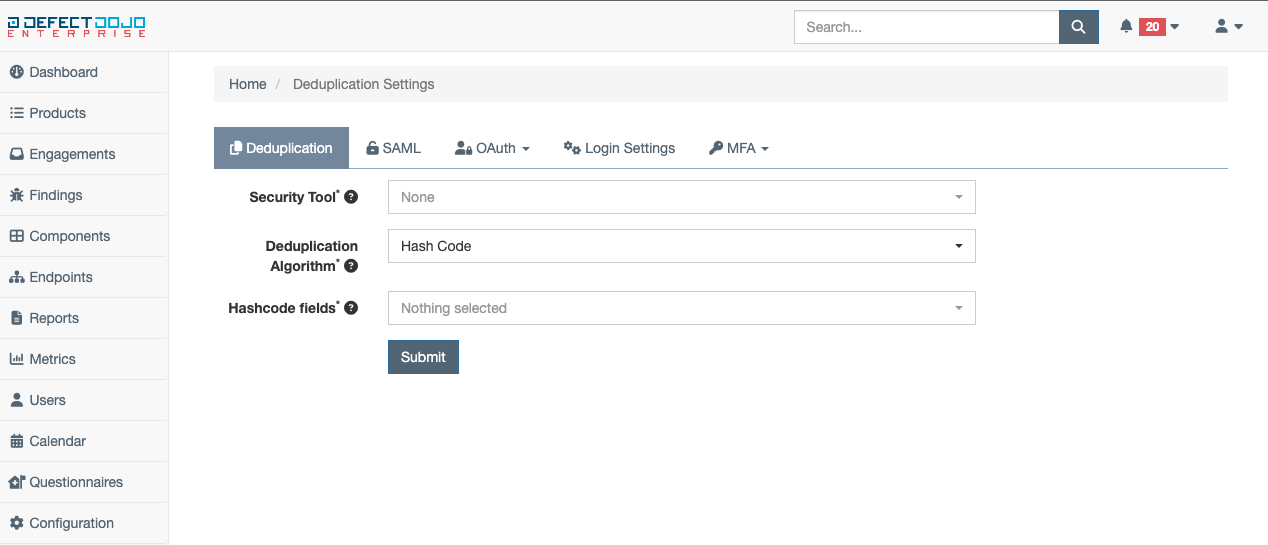
Deduplication settings provide the option to select a specific deduplication algorithm, as well as the fields which will be considered when deduplication is performed.
Before configuring custom deduplication settings for a specific tool, said tool must have previously been used and recognized by DefectDojo. In addition, a deduplication algorithm (a detailed list can be found here) and desired fields for identifying duplicates must be selected.
Once proper choices have been made, deduplication settings may be saved via the Submit button.
Note: Once these settings are saved, the hashcode for each finding will be re-calculated asynchronously, and a server reset will be forced.
SAML Settings
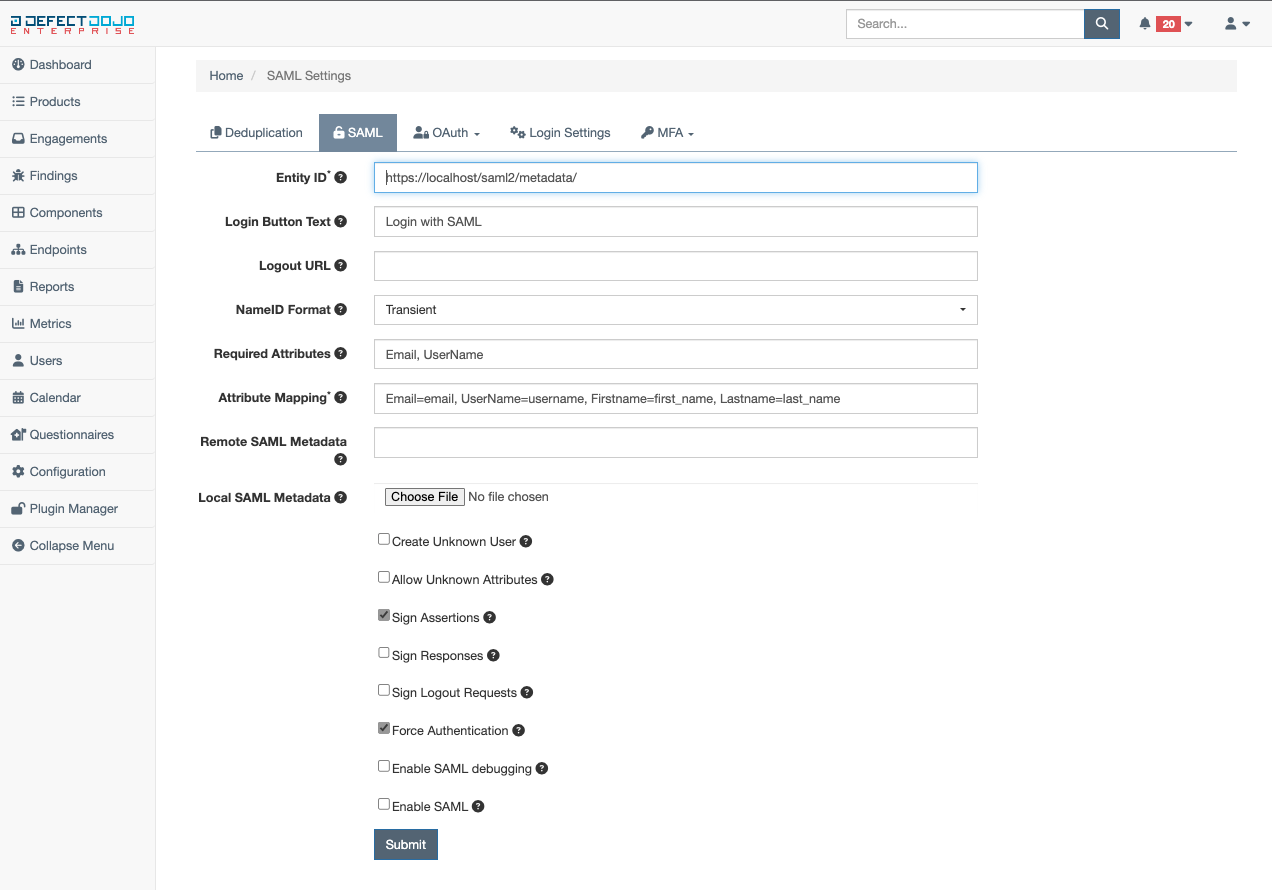
The SAML settings provide custom SAML configuration for a given DefectDojo instance. The following is a description of each available SAML configuration field:
Entity ID (required) - a string that identifies DefectDojo to the SAML IdP
Login Button Text - the text displayed on the SAML login button when displayed on the DefectDojo login page
Logout URL - the logout URL that closes a given SAML session
Required Attributes - only accounts with these defined attributes will be authorized successfully
Attribute Mapping (required) - the mapping from SAML attributes to DefectDojo fields
Remote SAML Metadata - the SAML metadata that is retrievable via HTTP by the IdP
Local SAML Metadata - the SAML metadata that generated by the IdP in XML format and stored locally (Note: After this file is submitted, there will be no indicator of it being uploaded.)
Create Unknown User - when enabled, users that successfully authorize via SAML that do not already exist within DefectDojo will have a new user account provisioned
Allow Unknown Attributes - when enabled, users that have attributes not configured in the attribute mappings can still successfully authorize to DefectDojo
Sign Assertions - when disabled, DefectDojo will not consume any SAML assertions that are not signed
Sign Responses - when disabled, DefectDojo will not consume any SAML responses that are not signed
Sign Logout Requests - when enabled, logout requests will need to be signed by DefectDojo
Force Authentication - when enabled, DefectDojo will force user login without relying on sessions
Enable SAML debugging - when enabled, more verbose output will be present in the logs for debugging issues
Enable SAML - when enabled, the button to login via SAML will be present on the login page (Note: If the Enable SAML field is not checked, no SAML login button will be displayed on the DefectDojo login page.)
Once the above fields have been appropriately populated, the SAML settings can be saved via the Submit button.
Note: Once these settings are saved, a server reset will be forced.
SSO Settings
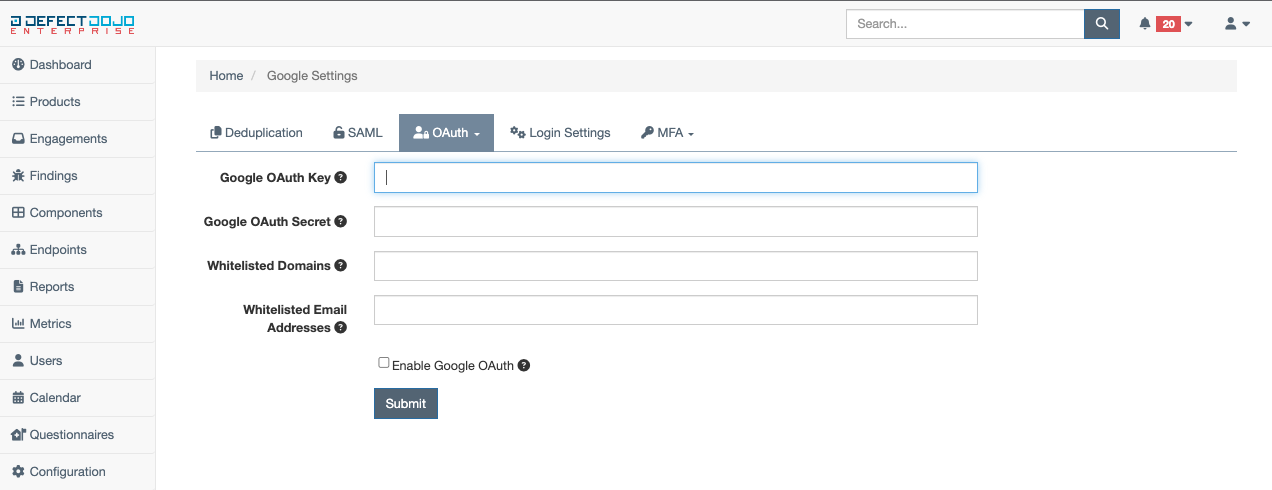
DefectDojo provides numerous offerings for SSO through proprietary custom settings, including Auth0, Azure AD, GitHub Enterprise, GitLab, Google, KeyCloak, and Okta. To configure a specific SSO offering, select it from the dropdown for configuration.
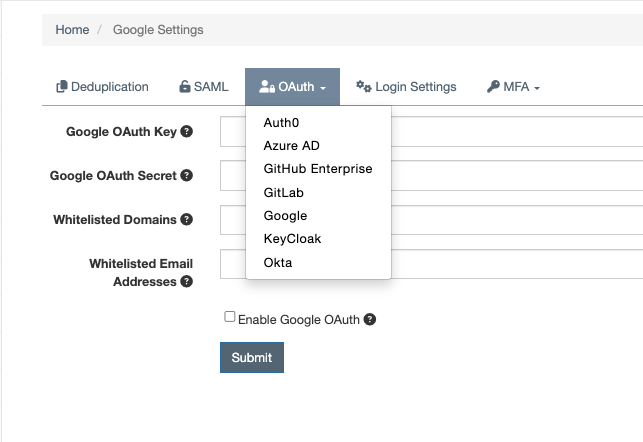
For example, if Auth0 configuration was desired, once selected from the dropdown, the following fields would need to be populated:
Auth0 OAuth Key - the key associated with your Auth0 OAuth instance
Auth0 OAuth Secret - the secret associated with your Auth0 OAuth instance
Auth0 Domain - the domain of your Auth0 OAuth instance
Enable Auth0 OAuth - when enabled, the button to login via Auth0 will be present on the login page
While this example only covers Google configuration settings, each of the offerings for SSO requires similar data entries. Once the above fields have been appropriately filled in, the SSO settings for a given offering can be saved via the Submit button.
Login Settings
DefectDojo offers some flexibility in how the user can login as well as opportunities for recovering access if it is lost:
Session Age - Dictates how long a given session will be valid for DefectDojo. The default is set to 12 hours. When modified, the expiration for all existing sessions will be updated, and possibly expire
Show Username and Password - when enabled, the username and password fields remain present on the login page and can be used for login
Allow Login with Username and Password - when enabled, the login button by username and password is present
Allow Forgot Password - when enabled, users can start the process of resetting their passwords from the login page
Create User on Successful Login - when enabled, users authorized by SSO that do not already exist in DefectDojo can be created with minimal permissions
Auto Redirect to SSO Page - when enabled, visiting DefectDojo will automatically redirect to the SSO login page (Note: This only works with one SSO connection configured)
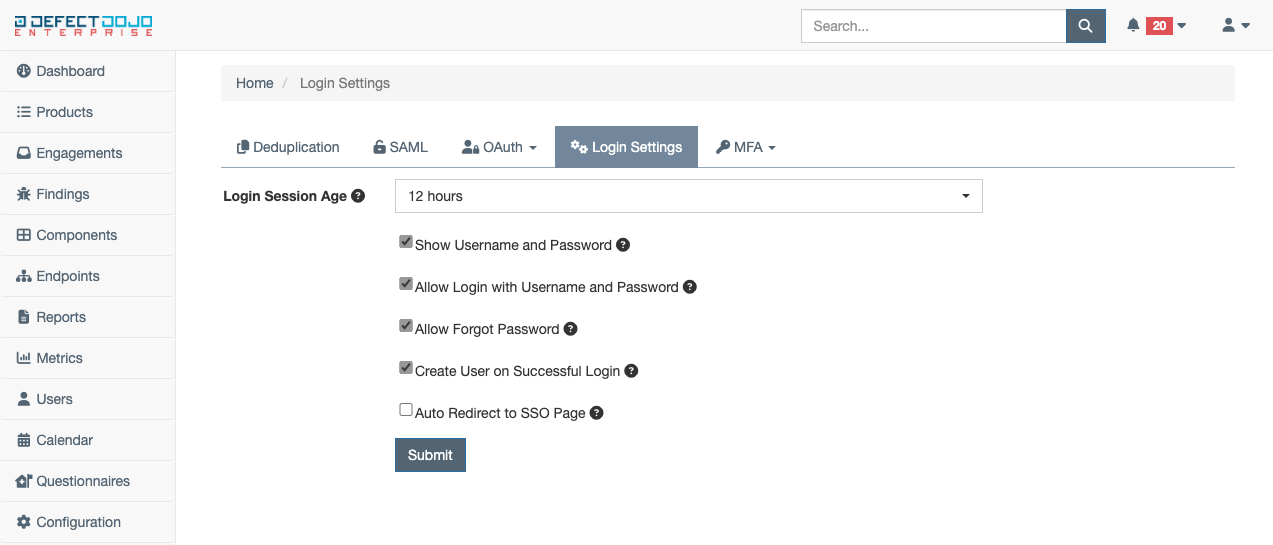
These settings may be saved via the Submit button.
SMTP Server Settings
SMTP Server Settings provides the ability to configure an SMTP server for a given DefectDojo instance. To properly configure SMTP server settings, the following fields must be populated (Note: This functionality is only offered to customers who have purchased an on-premise DefectDojo license):
Host - the host of the SMTP server
User - the user to connect to the SMTP server as
Password - the password of the user connecting to the SMTP server
Port - the port the SMTP server is listening on
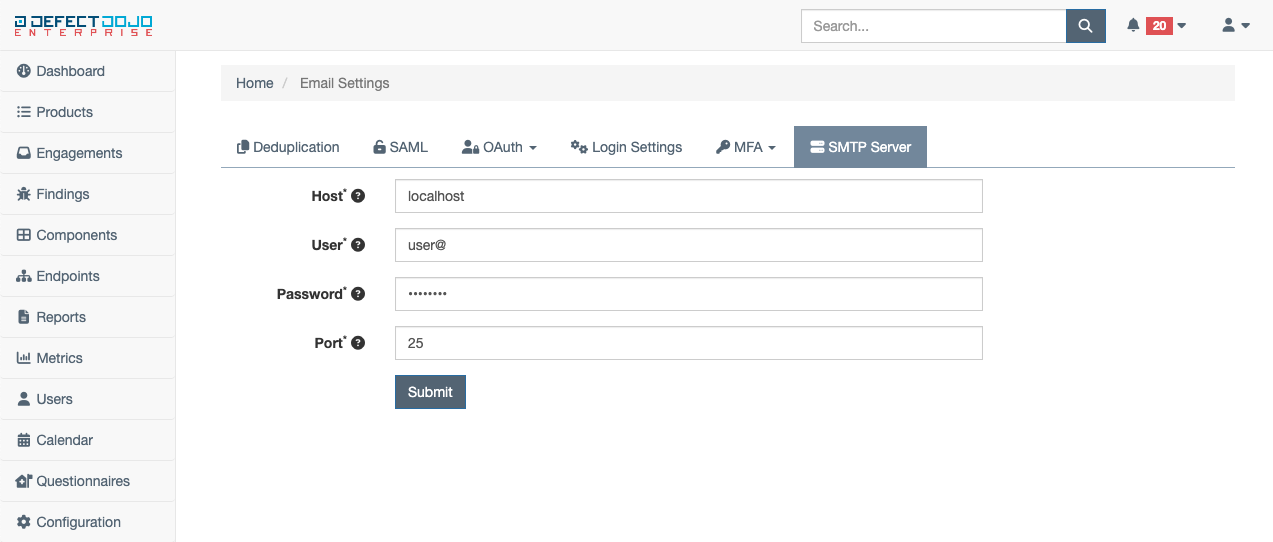
Once filled in, these settings may be saved via the Submit button.
Multi-Factor Authentication (MFA) Settings
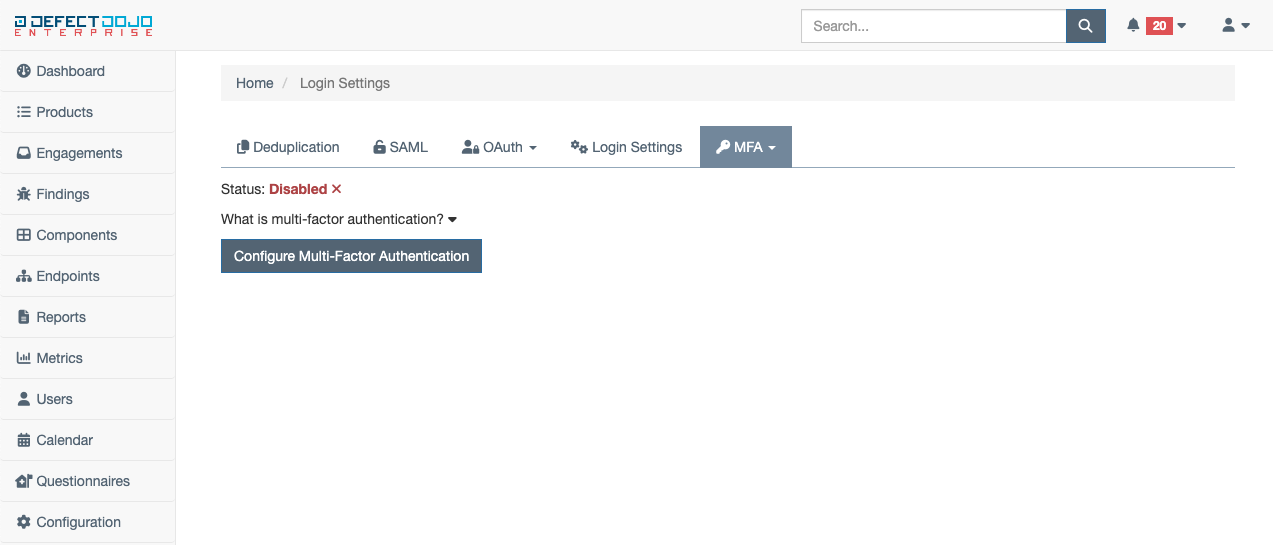
MFA settings adds the ability to use multi-factor authentication with a DefectDojo users account. To enable MFA, select Personal Settings from the dropdown menu under the MFA tab within custom settings. By default, MFA is disabled. To learn more about MFA, expand the dropdown titled What is multi-factor authentication?
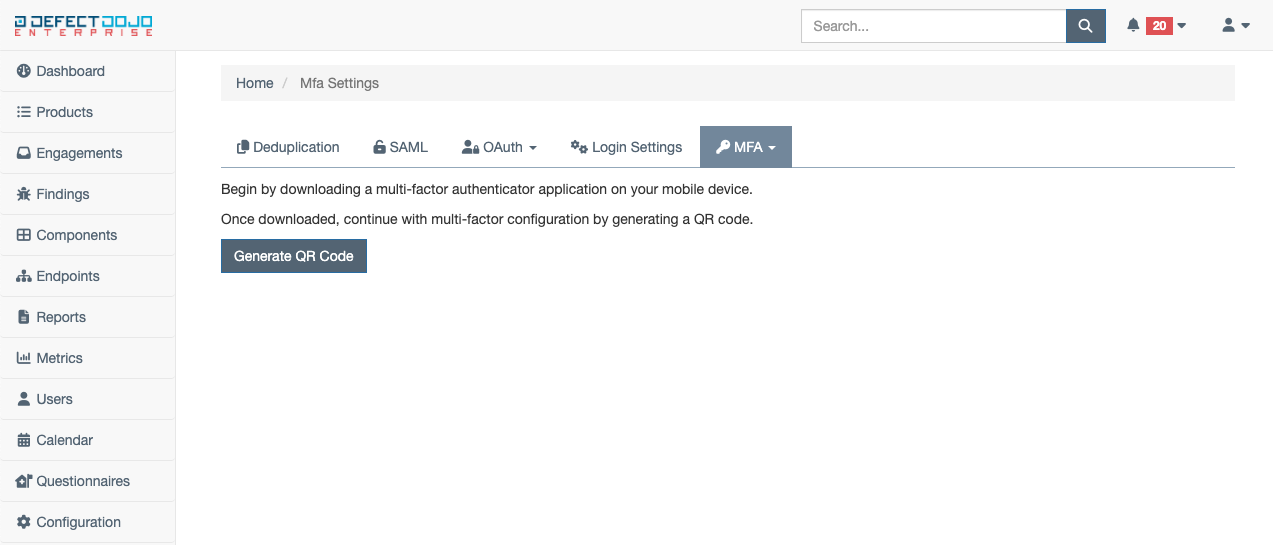
To begin the MFA configuration process, select the button titled Configure Multi-Factor Authentication.
Once the configuration has been started, a prompt to download a mobile authentication application will appear. Once the application is downloaded on your mobile device, proceed to the next step to obtain the QR code needed to continue MFA configuration via the Generate QR Code button.
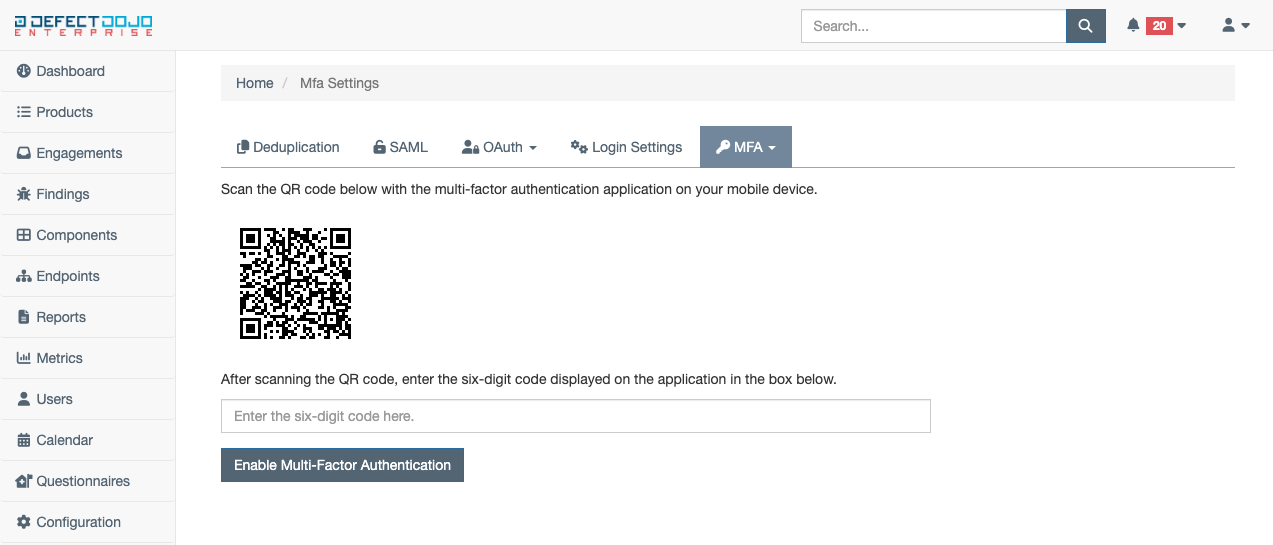
Using the camera on your mobile device, scan the QR code displayed on the screen. Once scanned, a six-digit code should be produced that is to be entered in the box below the QR code. Once this code is entered, enable MFA using the Enable Multi-Factor Authentication button.
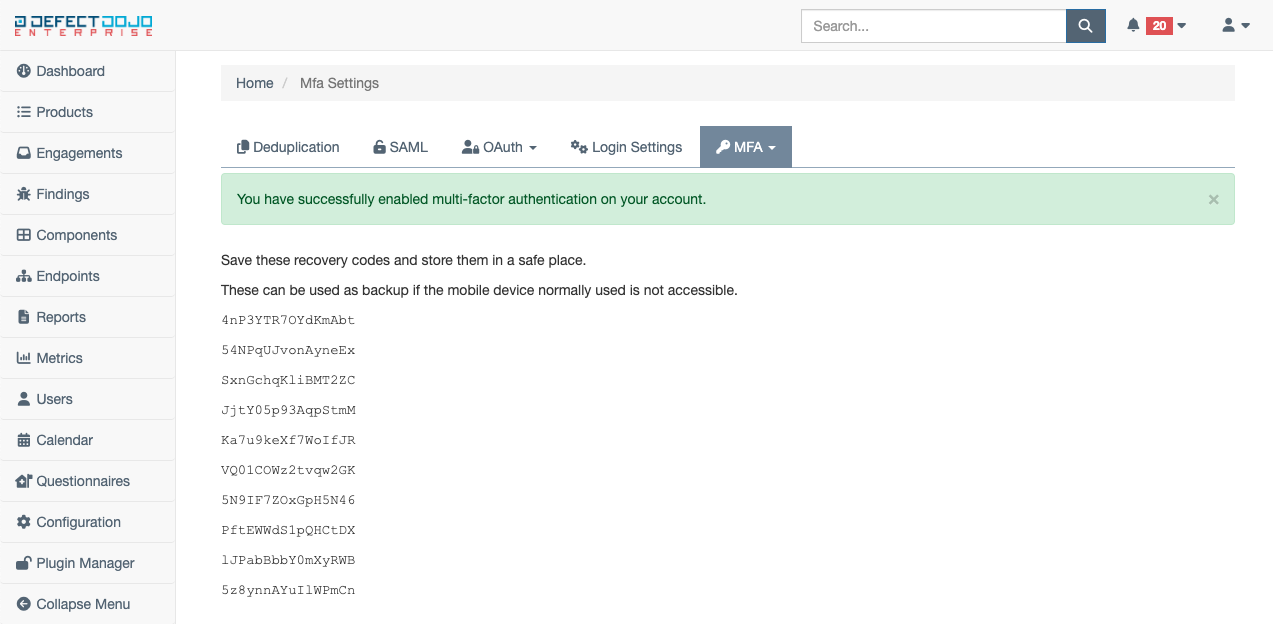
If the code was entered was correctly in the previous step, MFA is now enabled on your account, and you will be presented with a list of recovery codes. These should be stored in a safe place and used (in place of the normal six-digit code) if access to your mobile authenticator application has been lost.
To check the status of MFA on your account at any time, navigate back to the MFA tab within Custom Settings. This page will show either Enabled or Disabled, depending on the status.
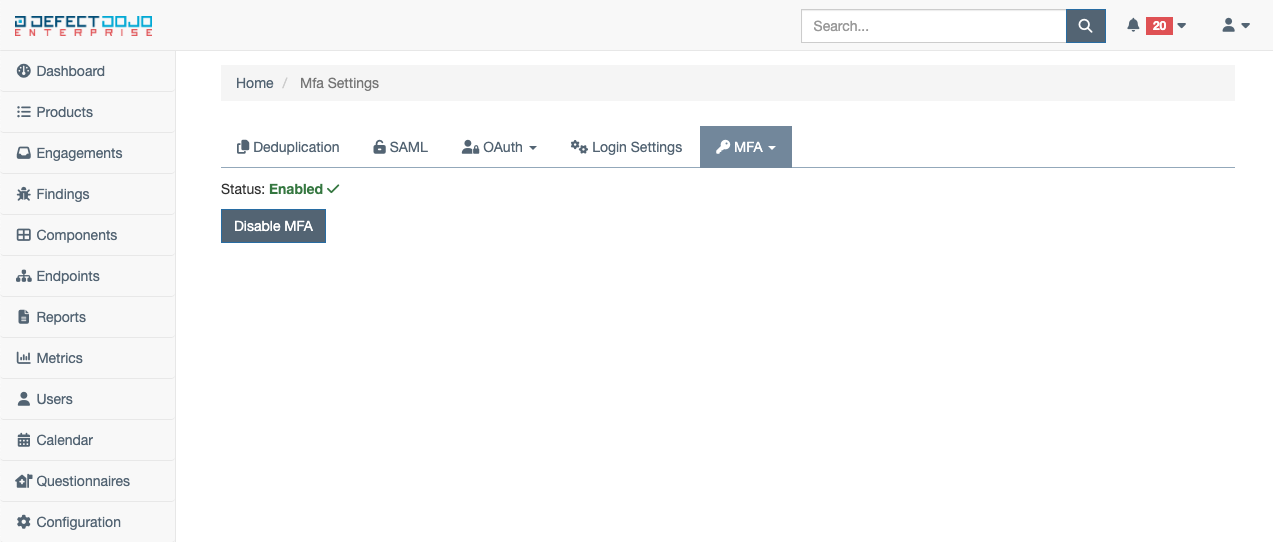
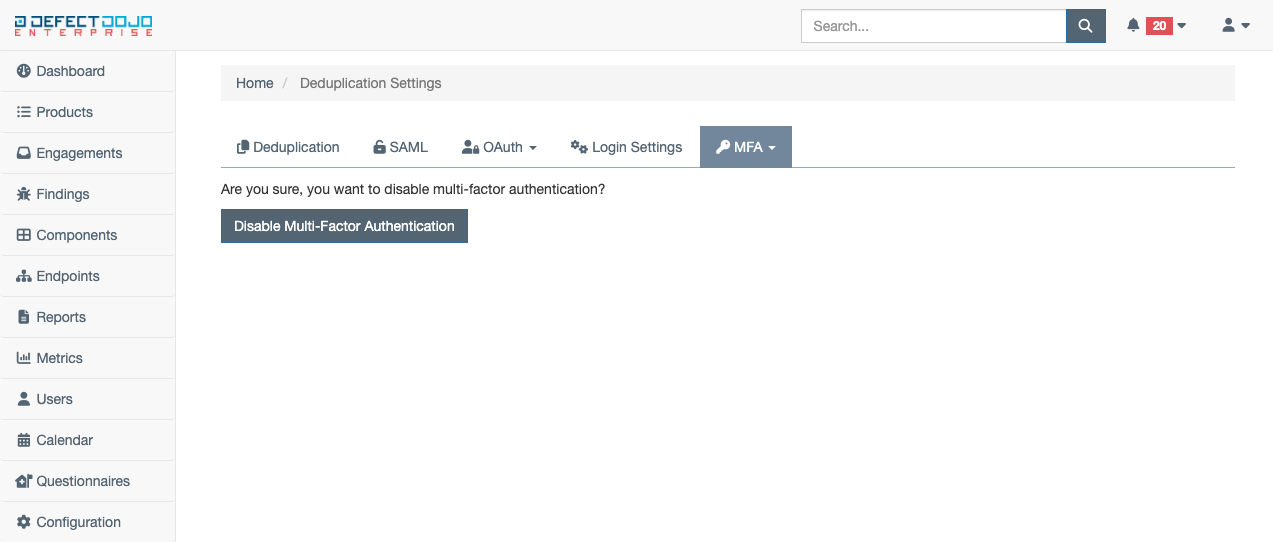
If at any time you wish to disable MFA on your account, select the Disable MFA button from the MFA tab within Custom Settings. This will ask you to confirm you wish to disable multi-factor authentication. Use the Disable Multi-Factor Authentication to confirm this action. To enable MFA again in the future, repeat the steps listed above.
When MFA is enabled, during the login process (after entering your username and password), a new step will be presented, asking for the six-digit code displayed on the mobile authenticator application you selected during setup. To login successfully, enter the six-digit code displayed on your mobile authentication application and select Submit to login.

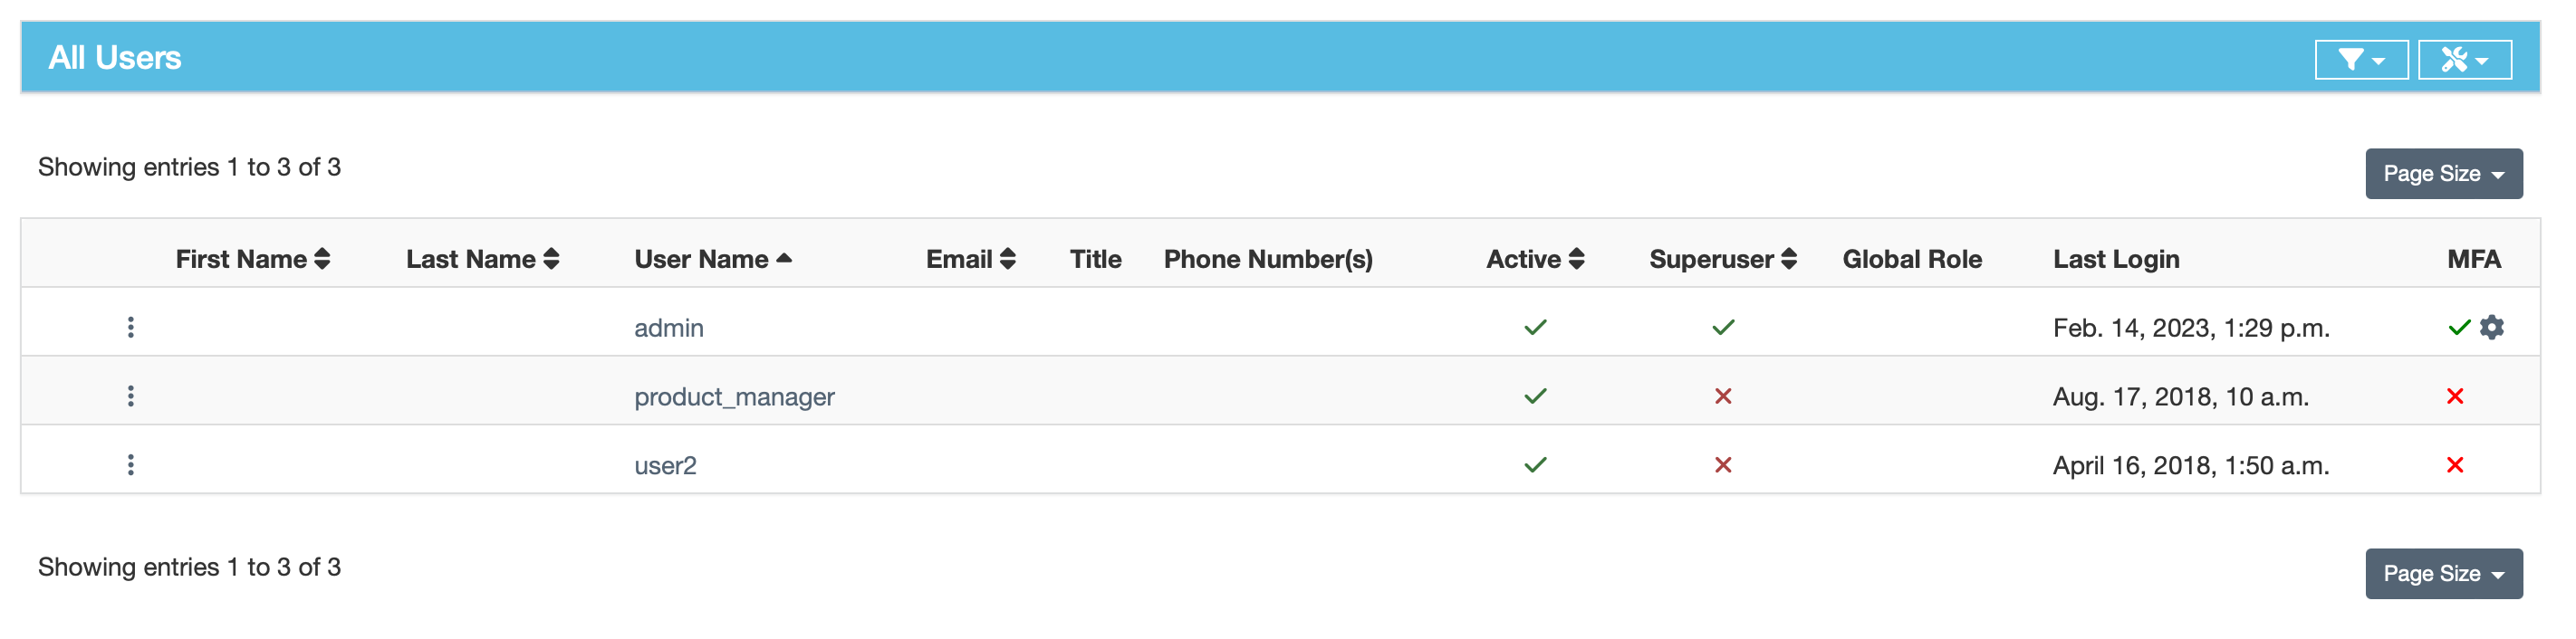
MFA User Audit
To view whether users have enabled MFA or not, navigate to the Users page and find the information ont he right side of the page:
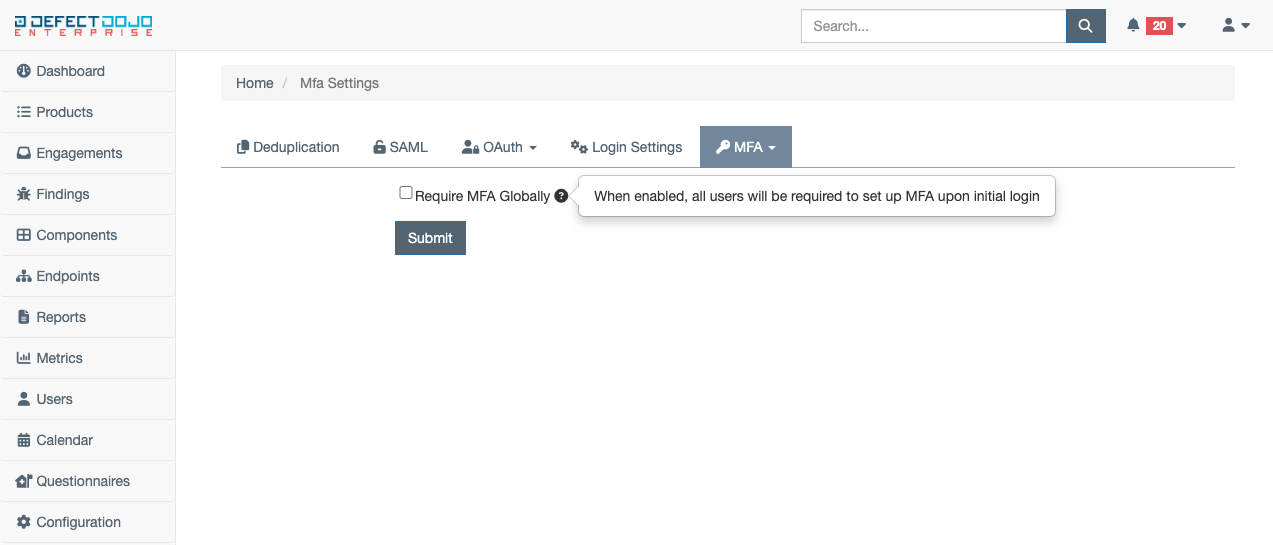
Require MFA For All Users
Users with a global maintainer or owner role can enable MFA globally for all users within DefectDojo. For new and existing users, the MFA configuration page will be a blocker within DefectDojo until MFA is fully enabled on the users account. To enable global MFA, select System Settings from the dropdown menu under the MFA tab within custom settings. Select the Enable Global MFA checkbox, and click submit.
For additional information, please see our pricing page.